 Krater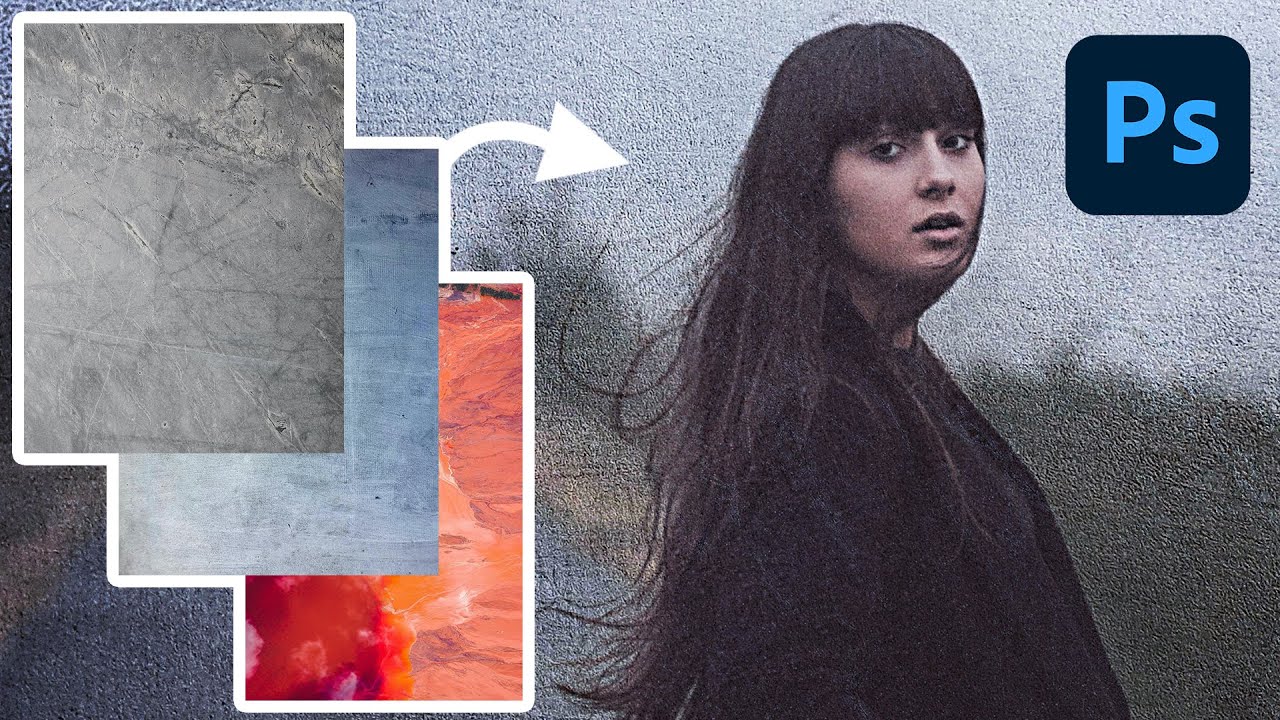
How to Turn Photos into Textures in Photoshop
A video on YouTube. In Photography & Film, a Krater category.
Watch on YouTubeSummary by Krater
This Photoshop tutorial demonstrates how to blend texture photos into a portrait to create a moody, artistic effect. The host shows how to position textures, cycle and use blend modes like soft light and screen, adjust layer opacity, mask out the subject, use the clone stamp tool to remove distracting marks, and apply smart filters like levels, hue/saturation, and color lookups.
From the video
Answers: How do I turn a photo into a texture in Photoshop?
- adding texture photos to portraits
- cycling blend modes in Photoshop
- masking out subjects from textures
- using clone stamp tool on specific layers
- applying levels adjustment smart filters
- matching texture color with hue and saturation
- using color lookup adjustment layers
What it concludes
- Soft light and overlay blend modes are generally the most effective for texture blending.
- Setting the clone stamp tool sample to 'Current Layer' prevents messing up underlying image data.
- Using smart objects allows you to apply and easily edit smart filters like levels and hue/saturation later.
- Rasterizing a layer allows you to transform it along with its applied smart filters.
- Color lookups are effective for coloring both your image and texture together to bring all colors into harmony.
Rate it, review it and add it to your lists in Krater.
Titles and thumbnails from YouTube. Krater isn't affiliated with, endorsed by or sponsored by YouTube or Google.