 Krater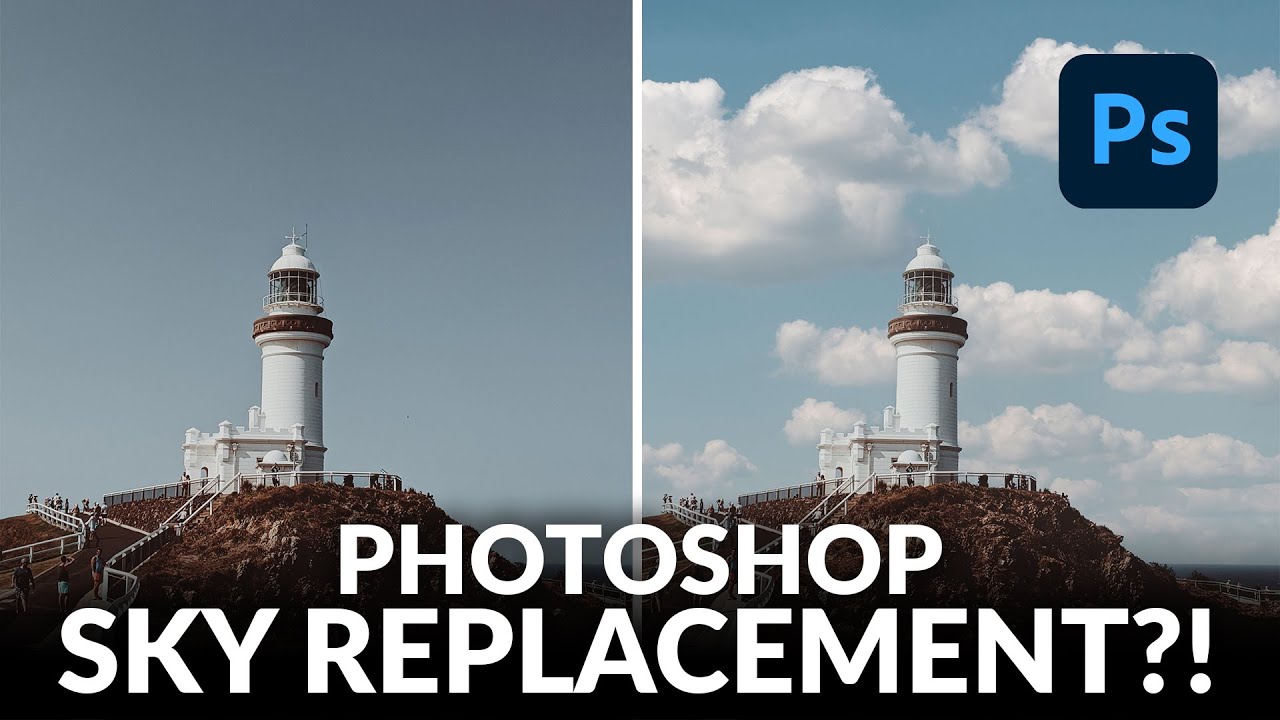
Testing the NEW Sky Replacement Tool in Photoshop!
A video on YouTube. In Photography & Film, a Krater category.
Watch on YouTubeSummary by Krater
Aaron Nace demonstrates how to use the Sky Replacement tool in Photoshop, explaining how to analyze lighting direction in an original photo to choose a matching sky, refine edges with adjustment layers and masks, and adjust lighting, color temperature, and saturation.
From the video
Answers: How do I use Sky Replacement in Photoshop?
- Sky Replacement in Photoshop
- lighting direction analysis
- edge refinement and layer masks
- hue and saturation adjustment layers
- foreground and sky blending
What it concludes
- Analyzing the lighting and shadows of the original image is critical for choosing a matching replacement sky.
- Using Screen or Multiply blend modes on foreground adjustments helps integrate the lighting between the background sky and the foreground image.
- Applying the brush tool in Overlay blend mode on layer masks helps refine and clean up edges without affecting dark areas.
- Switching the brush mode back to Normal after editing overlay masks prevents unwanted painting behavior on subsequent layers.
Rate it, review it and add it to your lists in Krater.
Titles and thumbnails from YouTube. Krater isn't affiliated with, endorsed by or sponsored by YouTube or Google.