 Krater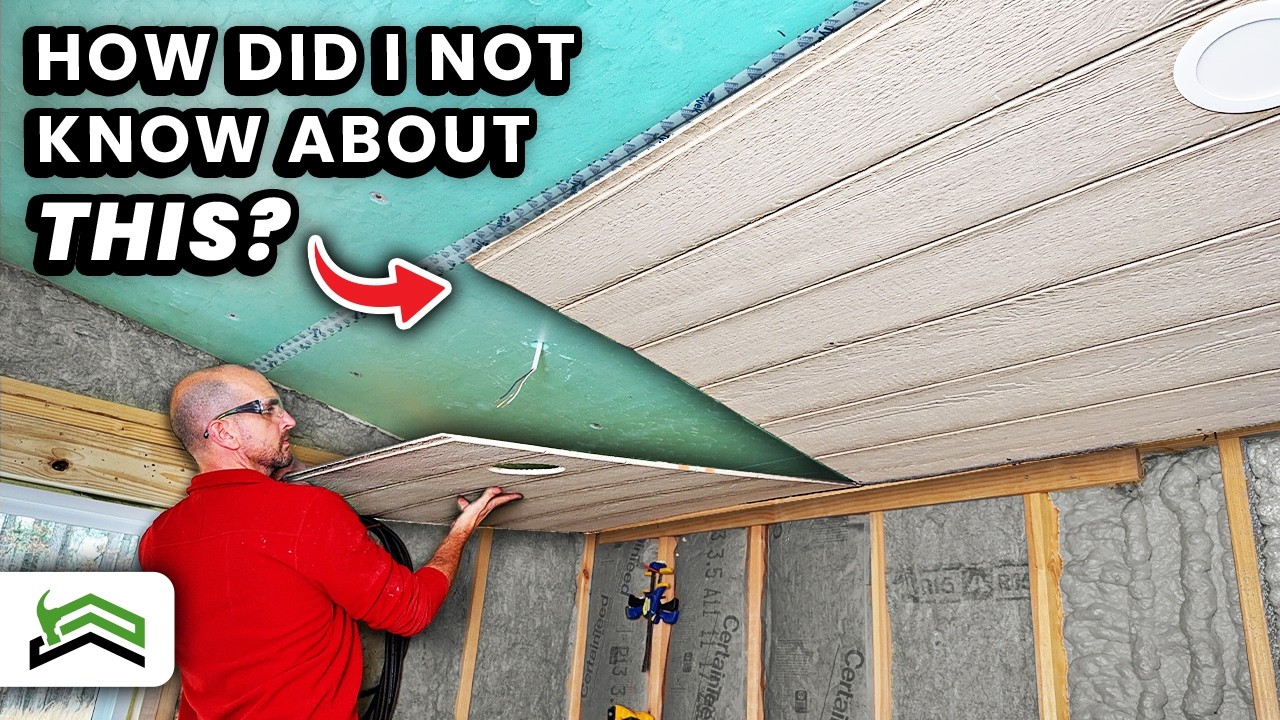
The Ceiling Trick You’ll Wish You Knew Sooner (No Drywall Needed!)
A video on YouTube. In DIY & Home Repair, a Krater category.
Watch on YouTubeSummary by Krater
The host demonstrates how to install LP SmartSide siding panels as a non-drywall ceiling in a 12x16 shed, sharing tips on cutting holes for wafer lights, using a laser line level and painter's tape, countersinking screws, and choosing between 2-inch and 3.5-inch SPAX screws.
From the video
Answers: How do I install LP SmartSide panels on a shed ceiling without drywall?
- LP SmartSide ceiling installation in a shed
- Cutting holes for wafer lights in siding panels
- Using a laser line level and painter's tape for alignment
- Countersinking screws for ceiling panels
- Choosing screw sizes for ceiling installation
What it concludes
- Applying a 1/2-inch nap roller to paint LP SmartSide before mounting makes the project much easier.
- A counter-sink bit is a must when installing ceiling panels.
- SPAX T20+ bits hold onto screws securely, even when inverted and rotated.
- Number 9 screws work best for most users with 2 inches of rigid foam, while number 10 screws provide extra bite if panels strip out.
- Using 4-inch trim board on ceiling seams can cover up imperfections and give a finished look.
Rate it, review it and add it to your lists in Krater.
Titles and thumbnails from YouTube. Krater isn't affiliated with, endorsed by or sponsored by YouTube or Google.